The HGV hazard perception test is not a test of how quickly you can click. It checks whether you can recognise a situation that is beginning to require action from a driver. The best preparation is therefore to understand what a developing hazard looks like and practise responding at the right moment.
This independent guide explains the current Great Britain test format, how the scoring works and how to practise without falling into the trap of clicking continuously or in a pattern.
How the HGV hazard perception test works
Hazard perception is one of the two parts of Driver CPC Part 1 theory. The other part is a 100-question multiple-choice test. You book the two parts separately, although you can take them on the same day. It does not matter which part you take first, but you must pass both within two years of each other to receive the theory-test certificate.
During hazard perception you watch 19 everyday road scenes. Each scene contains at least one developing hazard, and one clip contains two. You only get one attempt at each clip, so you cannot rewind it or change your response afterwards.
The clips may involve ordinary traffic, vulnerable road users, junctions, parked vehicles, changes in road conditions or other situations that a professional driver must anticipate. Do not expect the hazard to be dramatic. A routine event can become a developing hazard when it starts to affect your speed, direction or road position.
Potential hazard versus developing hazard
This distinction is the key to the test.
- A potential hazard is something that could create a problem but is not yet making you act.
- A developing hazard is now changing in a way that would make you slow down, alter direction or take another driving action.
Imagine a van waiting at a side road. At first it is only a potential hazard. If it begins to move towards your lane, it becomes a developing hazard because you may need to reduce speed or change position.
Another example is a pedestrian walking along the pavement. Their presence deserves attention, but it may not yet require action. If they turn towards a crossing, look into the road or step from behind a parked vehicle, the situation is developing.
With an HGV, early observation matters because the vehicle is larger, has different blind spots and usually needs more distance to slow safely. However, the scoring window is based on when the hazard begins to develop, not simply on when you first notice an object.
How the scoring works
You can score up to five points for each developing hazard. The earlier you respond within the scoring window, the more points you can receive. If you react after the scoring window, you may score nothing for that hazard.
You do not lose marks just because a click does not score. However, DVSA states that you will score zero for a clip if you click continuously or in a pattern. Random rapid clicking, clicking every second or using a repeated rhythm is therefore a bad strategy.
The maximum score is 100 and the pass mark is 67. That means you need consistent recognition across the full test. One weak clip does not automatically mean failure, but relying on a few perfect clips is risky.
A safe clicking strategy
There is no guaranteed “three-click method” or magic number of clicks. Use observation and judgement:
- Scan the full scene. Look well ahead, check junctions, pavements, parked vehicles, brake lights, road signs and changes in road surface or visibility.
- Identify potential hazards. Ask what might reasonably affect the vehicle next.
- Click when the situation begins to change. Respond when you would start planning an action, not merely because an object exists.
- Stay alert after clicking. A later event may be the scored hazard, and one clip contains two developing hazards.
- Avoid rhythms and repeated clicking. Every click should correspond to something you have observed changing in the scene.
If you are uncertain whether a hazard has started to develop, concentrate on the evidence: movement, an indicator, brake lights, a person changing direction, a narrowing gap or a new obstruction. Practising with explanations is more useful than memorising a click pattern.
What to look for in HGV clips
Junctions and emerging vehicles
Watch the wheels and position of vehicles at side roads. A driver edging forward, looking in another direction or entering your path may require an early reduction in speed.
Pedestrians, cyclists and motorcyclists
Large vehicles have significant areas where smaller road users may be difficult to see. Look for cyclists approaching on either side, pedestrians near crossings and motorcyclists filtering through traffic. Give particular attention near junctions and when the HGV may turn.
Parked vehicles
Doors can open, vehicles can pull out and pedestrians can appear from gaps. Brake lights, indicators, wheel movement and a driver visible inside can all show that the situation is changing.
Road and weather conditions
Standing water, ice, fog, strong wind, glare or loose material may require a change in speed and following distance. A condition becomes a developing hazard when it starts to affect the safe plan for the vehicle.
Restricted space
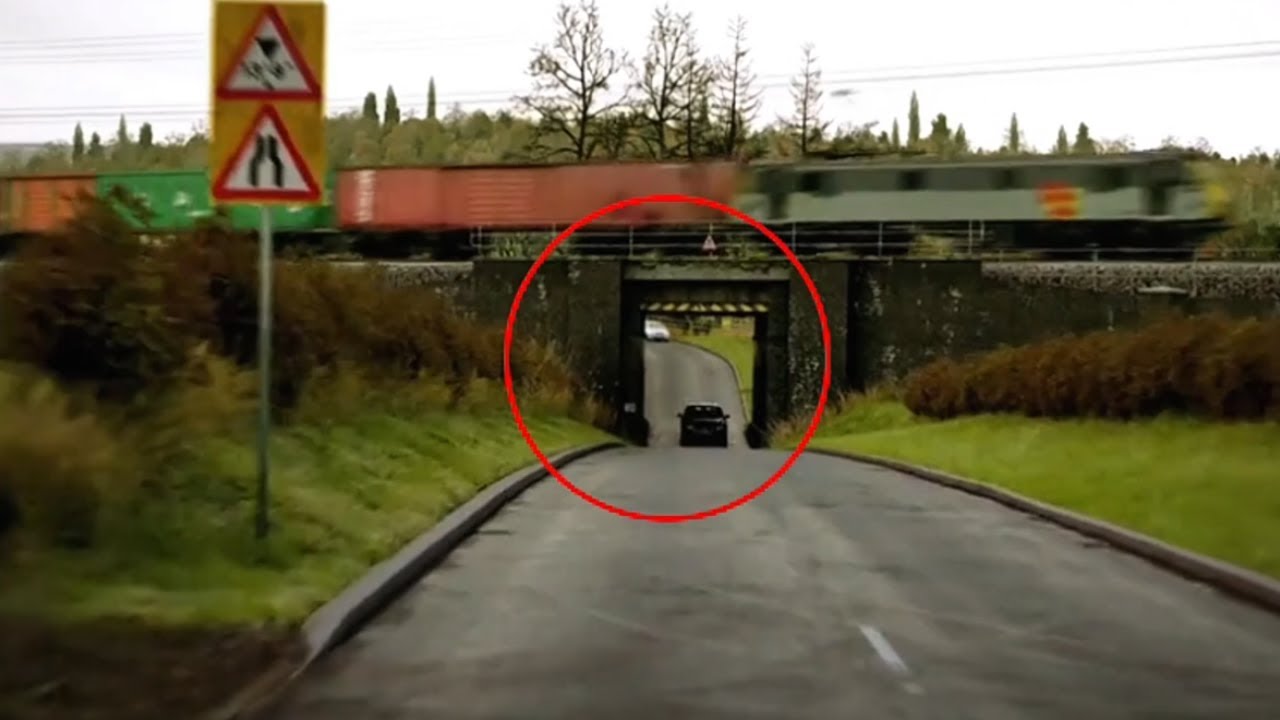
Roadworks, narrow lanes, low bridges, width restrictions and oncoming large vehicles may reduce the available room. An HGV driver must consider the complete vehicle, including trailer movement, height and width.
Five common practice mistakes
- Clicking as soon as every object appears. The test is about development, not spotting static objects.
- Waiting for an emergency. By the time heavy braking is obviously necessary, the highest-scoring part of the window may have passed.
- Watching only the centre of the road. Hazards often begin at pavements, side roads or behind parked vehicles.
- Using a fixed rhythm. This can cause a zero score for the clip.
- Practising without reviewing mistakes. After every practice clip, explain what changed and when you first would have needed to act.
A simple seven-session practice plan
- Session 1: learn the difference between potential and developing hazards.
- Session 2: focus on junctions and vehicles pulling out.
- Session 3: focus on pedestrians, cyclists and motorcyclists.
- Session 4: practise poor weather, limited visibility and changing road surfaces.
- Session 5: practise HGV-specific space, height and stopping considerations.
- Session 6: take a full timed practice test and record weak hazard types.
- Session 7: repeat only the weak areas, then take another full practice.
What happens after the test?
You receive a results letter at the test centre. If you fail, you can book again immediately, but the next attempt must be at least three clear working days later. Once you have passed both Part 1 sections, the theory-test certificate is valid for two years from the date you passed the first section. You must pass the relevant practical driving tests within that period or Part 1 will need to be taken again.
For the full Part 1 format, timings and pass marks, read LGV/HGV Theory Test Part 1: Format, Timing and Pass Marks.
You can also use the UK road-sign shapes and colours guide and visit the Driving Theory Test Channel on YouTube for more revision videos.
Official sources
This is an independent revision guide and is not affiliated with or endorsed by DVSA. Test rules and fees can change, so check GOV.UK before booking. No guide can guarantee a pass.
Comments
Post a Comment